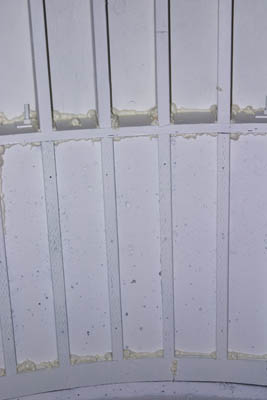
Hanging the fascia is the first step in the roofing process. It is a little bit hard to see the fascia in these photographs as it has a white cover on it, but believe me, it is there (I will prove it later). The fascia has been installed almost all the way around the house at this point and the metal roof sheeting will lock into the fascia to make a completely water tight roof! Or else.
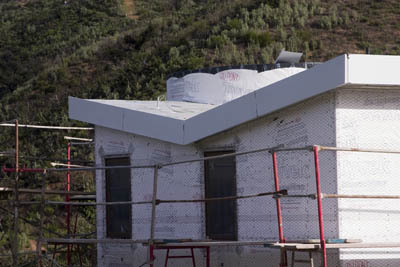
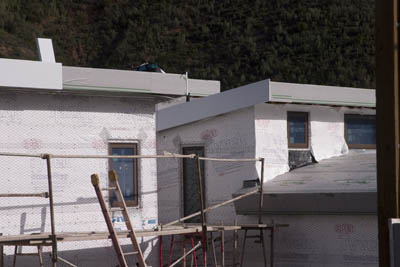
In the photograph below you can see some areas that have fascia and some that don't. Notice that the fascia does go over the impervious SharkSkin roof coating. This should be a water tight house......at least, when it is finished....
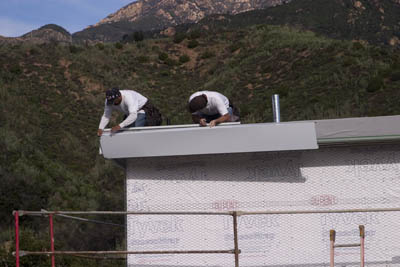
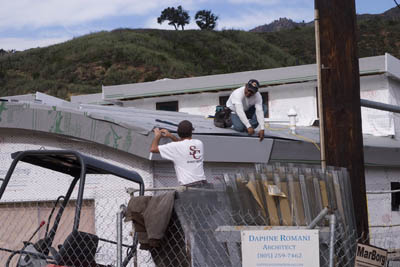
And here are Scott and Arturo installing the fascia on the front face of the house (here you can see the fascia easily). Currently, they are sitting just above the study.
Still hard at work, Scott and Arturo place fascia around the garage roof.
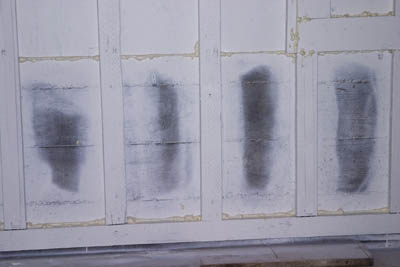
And on the inside of the house.......
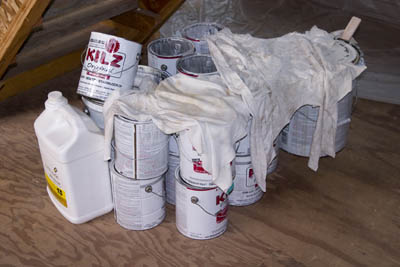
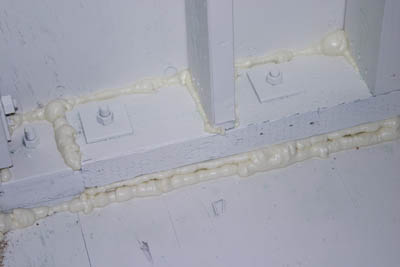
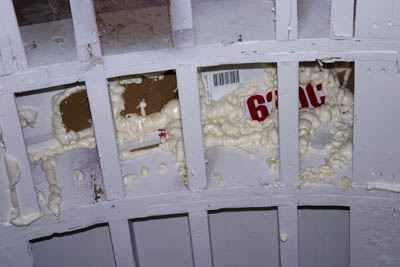
I am sure you all recall the little mishap with the Copper Green and the labor intensive solution to seal the Copper Green. If not, I refer you to any of the posts labeled as 'Mold Abatement/Prevention'. I won't repeat the whole story here. Anyway, the labor intensive solution essentially had four steps: 1. Paint all surfaces with two coats primer, 2. Spray all joints with foam to seal any gaps where Copper Green may be present, 3. Extra sealing for the drywall, and 4. Installation of ERVs to help circulate any bad air out and good air in! We (or the contractor if you want to be picky) have completed steps 1 and 2 now. You have all seen the primer paint job (and know that we actually have THREE coats) and so now here are some joint foaming photographs. They did literally spray foam in every crack and crevice in the house: Joints between wood surfaces and between wood and concrete...
A close up photograph demonstrates that they even sprayed the joints between two wall plates as well as between the wall plate and the shear panel and the wall plate and the floor....
Another close up (of the amazing sweeping staircase area (can't leave that out..)) with yet more foam..
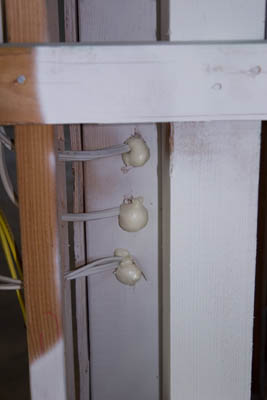
They even sprayed foam into the holes the electrician and Peter drilled to run electrical wire and audio/visual/internet wiring, respectively. Now it looks like the holes are oozing some sort of pus...
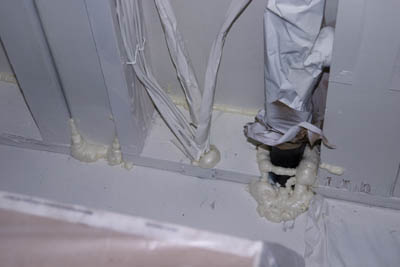
More foam, this time sealing the areas around the plumbing.
In case we weren't sure if the contractor had used enough foam as a sealant for the Copper Green, here is a look at how many spray cans of foam were used.

And the pile of Kilz paint cans. It was Kilz which was used as the primer to seal the walls prior to foaming....