The roof guys have made progress in installing the standing seam roof
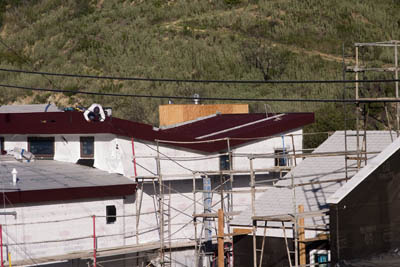
In the photograph above, our house is the one with the maroon roof and fascia. They are about a quarter of the way through the roof installation now. The house on the right with the white roof is our neighbor's. He doesn't have such a cool roof!
Up close, the first quarter of the roof (or part thereof)
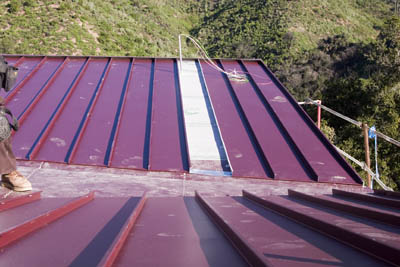
On the roof, we can see how the standing seam is put together. Each panel is screwed to the roof (hmmm, some more screw holes in the roof???) with brackets along the rib of one panel
and then the next panel is locked onto this panel using the interlocking joints of the standing seam. A schematic of the standing seam joint is shown below
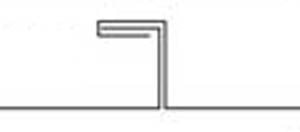
Effectively, the rib of the second panel hooks over the rib of the first panel locking them together and creating the standing seam. I will have to ask Scott if that schematic reflects the final configuration or if the seam is then folded over once more. Lucky Scott - more questions!
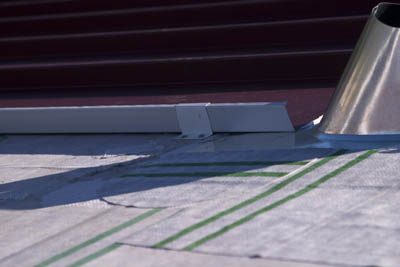
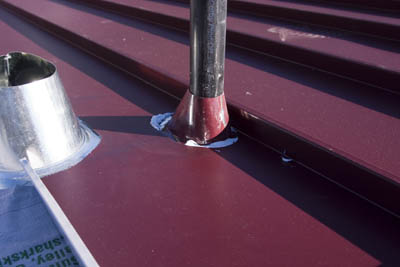
As the panels of the roof are installed, some of them have to be adapted to allow for the vents (read holes; no really they are vents). As seen below, the panels have cut outs around the vents.
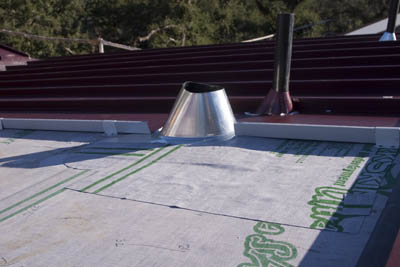
Up close, we can see there is alot of sealant involved which is good because then it won't leak! Also, for the final product, the sealant and the vent will be painted to match the rest of the roof to help blend....
Inside the house, the windows are being stained. Some of the windows, like the big NanaWalls, have to be done in place, but some of them, like the smaller ones shown below, can be removed from the frame and stained while they sit in the garage.
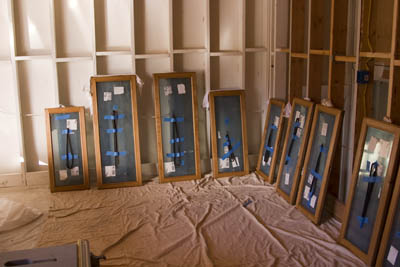
The photographs don't do justice to the finish stain so anyone who wants to see how gorgeous they really are will have to come for a visit.