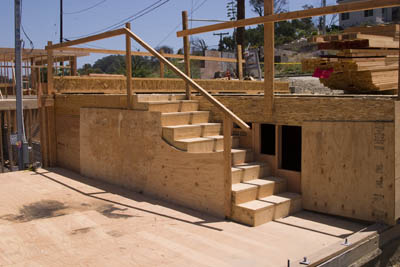
We were so excited when they poured the concrete for the exterior stairs - the two sets that run into the front courtyard/garden area and the one set that runs down to the mechanical room. Having those stairs meant we no longer had to traverse down the slippery slope of the lot risking life and limb to circumnavigate our building site. Now, the stairs leading from the garage to the kitchen have been framed in so we can use those to reach the main floor instead of clamboring up the side of the house. Aren't they nice?
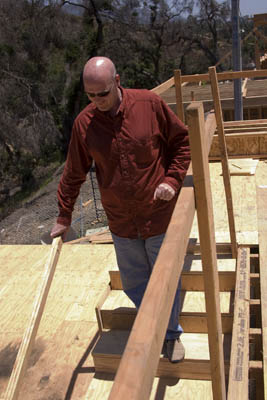
Peter is certainly happy as he makes the virgin voyage down the stairs....
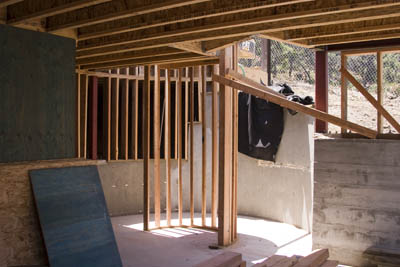
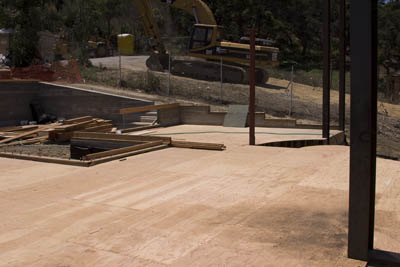
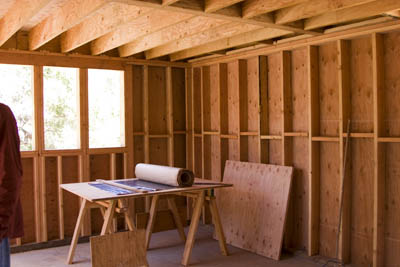
In fact, the entire main floor has plywood installed. Views from the opposite corners of the house can sort of give you an idea of the expansive main floor. Note that the little three quater-circle area is the inner circle of the amazing stairs!
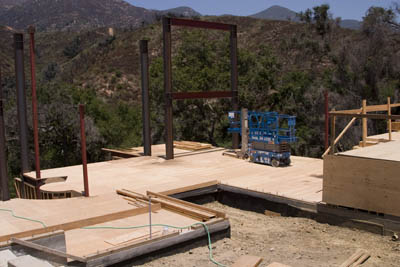
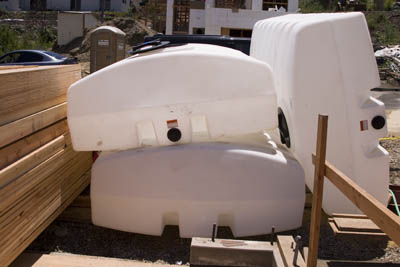
As the framing continues, again, our multitasking contractor has had the water tanks delivered.
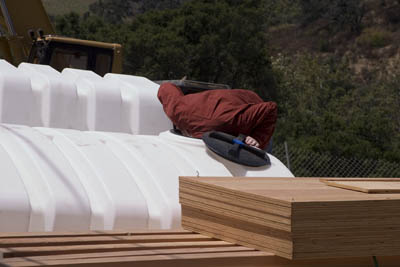
Peter tried to go for a swim
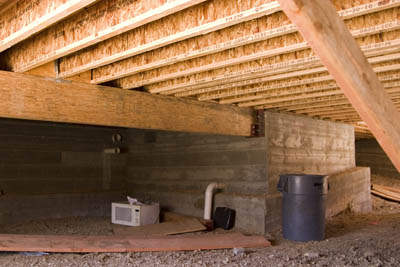
The water tanks will eventually be housed under the house in this area which currently is the lunch room for the framers (note the microwave). Now that the plywood has been nailed on, they have a nice shady spot to sit while they eat.
Although this is nice and shaded, I would have chosen to eat in the media room as now, with the main floor plywood on and the shear panel put up, this actually resembles a true room (even more so than before) with walls, a ceiling, and windows.
You may be wondering why, in my last entry, I emphasized the use of the level in building our house. Well, there is a story behind that and I can't help myself but tell it now. When the floor joists were being installed, the guys were very careful to cut out a notch in the center of the support beam that runs perpendicular to the joists. This is typically done because this weighty beam is actually bowed with the center being higher than the ends so that when the weight of our massive kitchen appliances is placed on the floor, the floor won't sag in the middle. As a result, if they don't cut a notch in the center of this beam, the joists that lay over the center section of the support beam end up being higher than the others, usually. Well, this was not the case here and Eagle Eye Pete caught it. So we called the contractor up and he was on site in a flash to address our concerns. In fact, the one joist was lower and it required a shim to give it a little lift! Well, it wasn't really a shim as much as another joist hanger. The support beam is in the lower portion of the photograph and the floor joists are above.
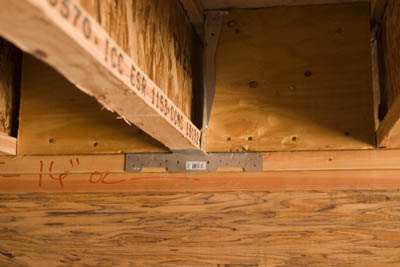
This is one elaborate shim job and, as opposed to another house we see being rebuilt, we have one "shim" in our house.
Sorry Jeff. Although from our last conversation, I don't think you are reading this, but I apologize for airing all our dirty little secrets. But you could think of it in another light - This is an example of how our contractor handles any issues. They were on site immediately to address the issue and they came up with a solution to the situation that did not just involve hammering a wooden shim under the joist. In the end, this joist will end up being the strongest, most secure, fastest, able to leap tall buildings in a single bound.....oops, getting carried away.
And on that note, with the plywood installed on the main floor, the sunlight cascades down through the stairwell creating a symphony of light and shadows.....