When we designed this new house, we decided to put in a series of water tanks (well it started out as one water tank and evolved into a series of water tanks...) under the house to store runoff to use for irrigation on a regular day and for fire fighting on (hopefully) an irregular day. The water tanks have been sitting under the house for quite a while now waiting to be plumbed to the drainage system from the roof and the front garden. Although the downspouts from the roof have not been hooked up yet, the french drains which are underground have now been plumbed into the tanks under the house. There are three tanks total under the house; two side by side
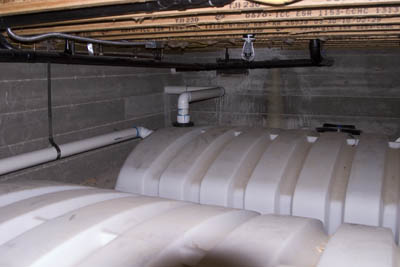
and one perpendicular to the other two.
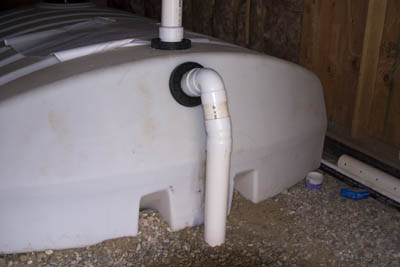
The third one that is sitting on its own has the overflow pipe which, when the water level gets to the tank fill level, will allow the extra water to overflow down the hillside.
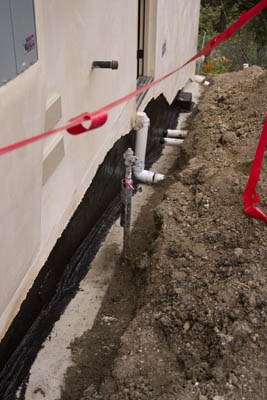
During the process of plumbing the water tank, it was discovered that the west wall of the house was never waterproofed below grade. So some poor guy (or guys) had to dig a trench down the entire length of the house to the grade beam so that waterproofing solutions could be applied.
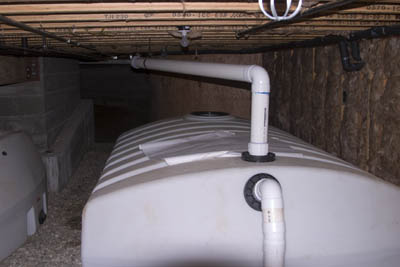
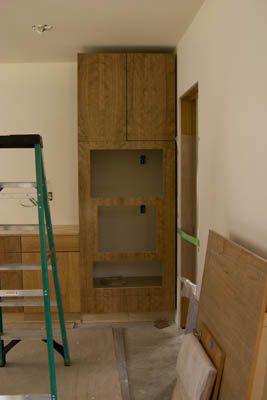
In the photograph above, the four inch pipe in the center of the photograph is the vent pipe for the overflow from the tanks.
Inside the house, the cabinets for the kitchen are slowly and haltingly being installed.
The kitchen cabinets have been quite an adventure in themselves. When they first arrived, Peter discovered that the cabinet door fronts and drawer fronts were all veneer finished instead of the wood we had ordered. So while the cabinet bases were being installed, the cabinet maker was remanufacturing all the cabinet doors and drawer fronts in solid wood. The new solid wood doors and drawer fronts will be arriving fairly soon. While we wait for the new solid wood fronts, the finish carpenter, Art, is continuing to install the cabinet boxes. The below counter cabinets are already in so it is time to install the above counter cabinets. In order to do this, he needed to install the oven stack unit so he could set the top of the cabinets. Here is the oven stack unit. In this unit, we will have a speed oven (a convection microwave), a steam oven, and a warming drawer. (All I need to do is learn to cook!) By the way, this unit is veneer so the final color will be a bit different.
With the height defined by the top of the oven stack unit, the corner above counter cabinets have been installed
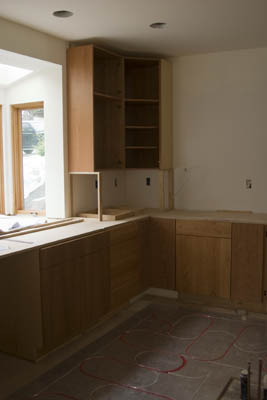
We did notice two odd things about these above counter cabinets however. First, the cabinets are divided into two sections; the two sections are defined by the single shelf in the unit on the left. In our above counter cabinets, the upper section was supposed to be 12 inches high which leaves the lower section at about 34 inches high. This would give us a nice delineation between the two sections with the lower section being used for daily use items and the upper section being for display purposes. Unfortunately, the upper section in these particular cabinets is about 17 1/2 inches high which leaves the lower cabinet at about 28 inches. This does not leave much difference between the heights of the two sections which diminishes the dramatic effect of having these two separate sections. To remedy this problem, we would have to reorder all the above counter cabinets. So we have decided to let this one go. However, the same is not true of the second problem. The second problem is that there is no wiring for the lights that are supposed to be in the glass fronted cabinets. All the upper sections of these cabinets (the 17 1/2 inch tall sections) have glass fronts and some of the lower sections have glass fronts. This is something we really don't want to live without so the contractor will have to put in these lights. It is all about compromise.......hmmmmm
And what, may I ask, is this???
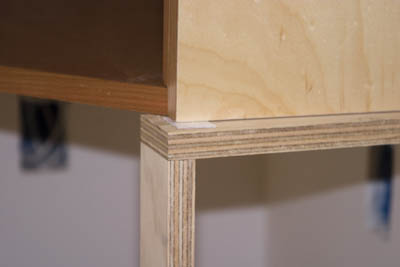
You guessed it, another shim.......