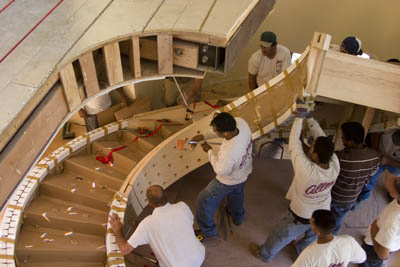
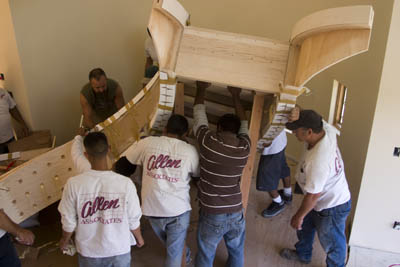
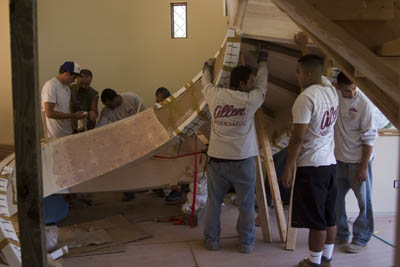
The heavy lifting part of the day is over and now the two sections of the stairs just have to be bolted together.
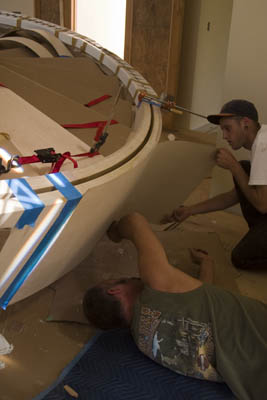
But before the bolting begins, the two sections are precisely positioned and clamped together
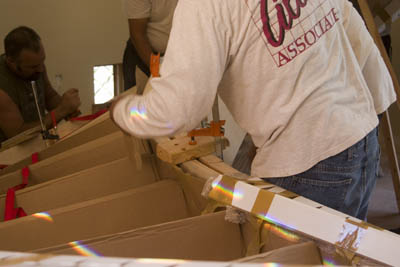
and then the gluing can commence. First, the glue is poured, with great precision, between the two overlapping pieces
and then is blown down between the two pieces with an air gun
which caused some leakage out the previously drilled bolt holes.
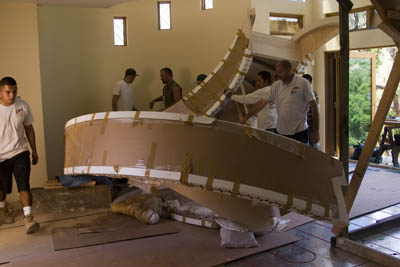
So now the guys can just hold up the stairs until the glue dries.....
or we can use more clamps although this seems to just push the glue out the bolt holes.

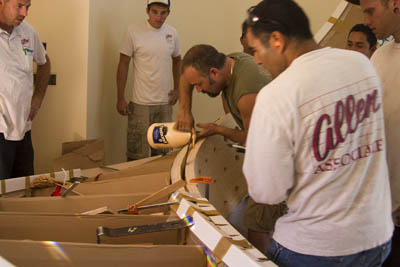
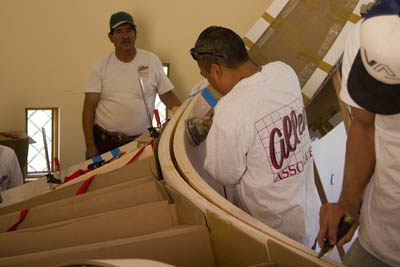
They aren't really going to wait for the glue to dry and the clamps are to hold the two pieces in place while the lag bolts are screwed in place. This is a process in itself which begins with Gabe hammering the lag bolts into the holes....
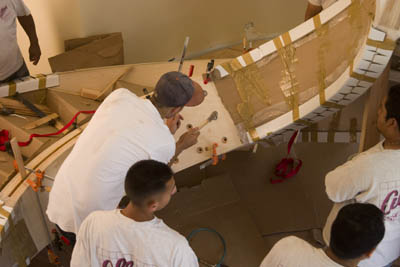
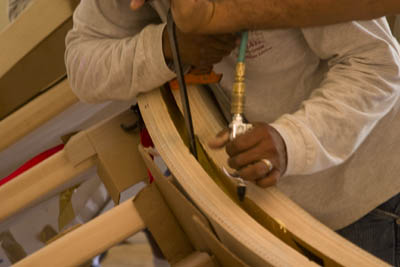
followed by two others who tighten the lag bolts with socket wrenches.


After the lag bolts are completely tightened, the holes are filled and covered with Bondo filling putty.

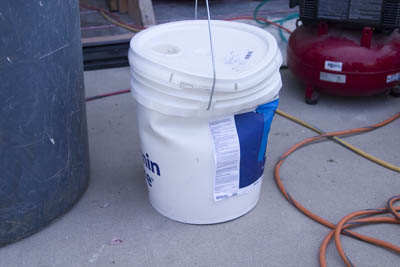
Just as a side note, the stairs were being propped up off the floor in some sections in order to orient them so the two sections would slide together. One section of the stairs was originally resting on a five gallon can of paint. Unfortunately, the paint can was not designed, structurally, to hold even part of the weight of the stairs. So the paint can started to fail a bit as shown below. Fortunately, the guys realized it before the can split or burst and poured or splattered Marscapone colored paint all over the stairs!!!
The two interlocking pieces for the inner stringer of the stairs are now connected so the guys move to the outer stringer.
The process of glueing, clamping , and bolting is repeated for the outer radius, and when they are finished, the entire staircase is formed and can stand on its own.
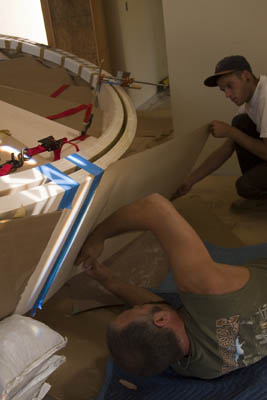
A few finishing touches: a little bit more sanding
and application of the veneer over the bolt holes of the outer stringer of the stairs. The veneer has to be put on the outer stringer prior to installing the stairs in their final location because once the stairs are in final position, the outer stringer will be only three inches from the wall - so they won't be able to put the veneer on then!
This was a long day and we only have the two sections of the stairs connected so far. Tomorrow, they have to lift the stairs into place!